


源码安装nginx
Linux中软件的安装方式
| 安装包 | 安装方式 |
|---|---|
| rpm包 | rpm,yum |
| 源码包 | 源码安装 |
| 二进制包 | 解压即用 |
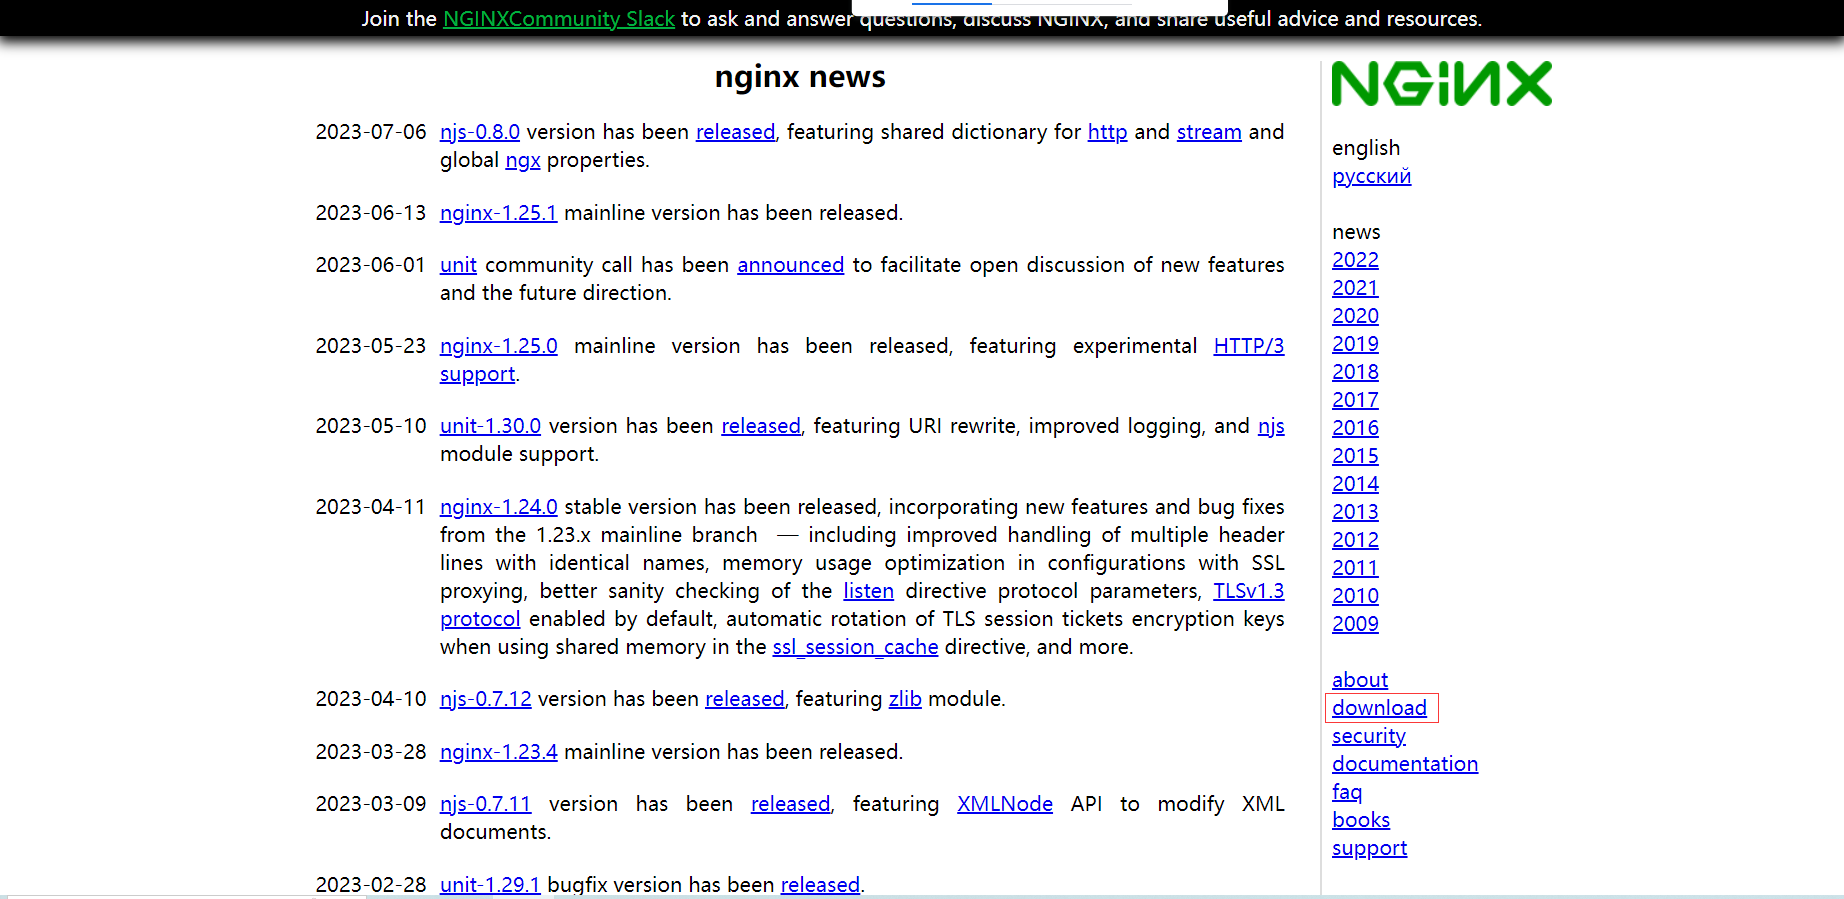
获取源码包
安装什么服务 就去什么服务的官方网站 下载源码包
Linux安装源码包
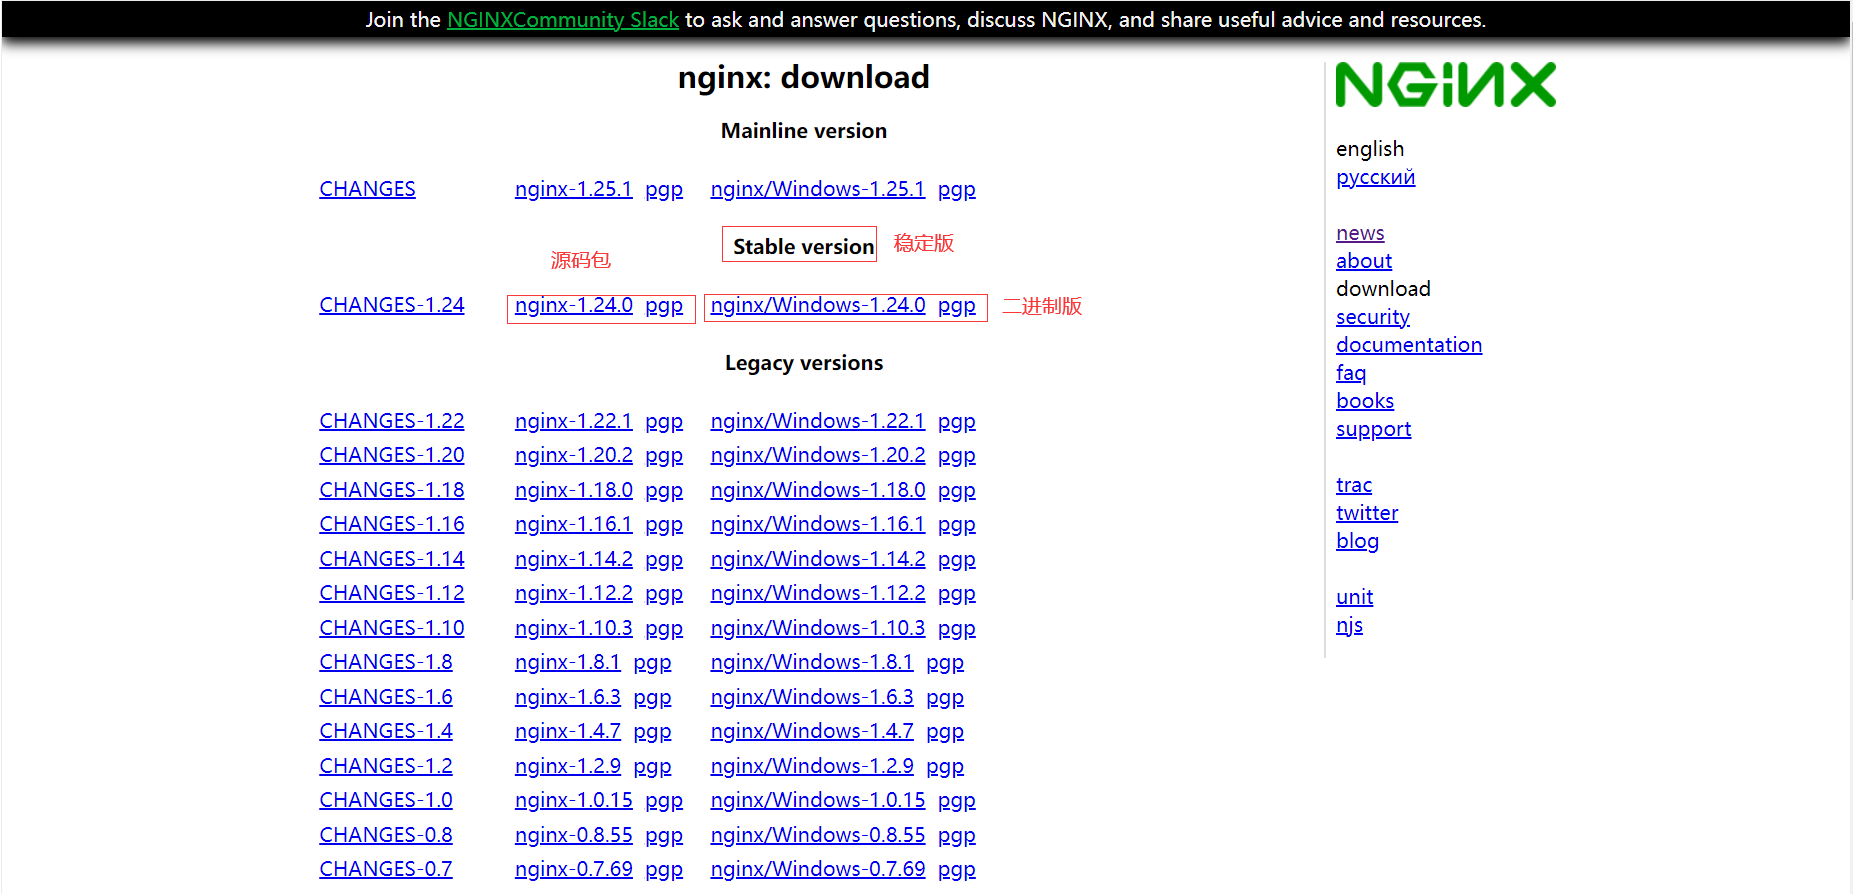
# 1.下载nginx源码包
[root@web02 ~]# wget https://nginx.org/download/nginx-1.22.1.tar.gz
[root@web02 ~]# ll
total 1052
-rw-r--r-- 1 root root 1073948 Oct 19  2022 nginx-1.22.1.tar.gz

# 2.安装依赖
[root@web02 ~]# yum install -y pcre-devel openssl-devel gcc gcc-c++ glibc zlib-devel

# 3.解压
[root@web02 ~]# tar xf nginx-1.22.1.tar.gz
[root@web02 ~]# ll
total 1052
drwxr-xr-x 8 1001 1001     158 Oct 19  2022 nginx-1.22.1

# 4.进入解压后的目录生成服务
[root@web02 ~]# cd nginx-1.22.1/
[root@web02 nginx-1.22.1]# ll
total 800
drwxr-xr-x 6 1001 1001    326 Jul 11 15:29 auto
-rw-r--r-- 1 1001 1001 317399 Oct 19  2022 CHANGES
-rw-r--r-- 1 1001 1001 485035 Oct 19  2022 CHANGES.ru
drwxr-xr-x 2 1001 1001    168 Jul 11 15:29 conf
-rwxr-xr-x 1 1001 1001   2590 Oct 19  2022 configure
drwxr-xr-x 4 1001 1001     72 Jul 11 15:29 contrib
drwxr-xr-x 2 1001 1001     40 Jul 11 15:29 html
-rw-r--r-- 1 1001 1001   1397 Oct 19  2022 LICENSE
drwxr-xr-x 2 1001 1001     21 Jul 11 15:29 man
-rw-r--r-- 1 1001 1001     49 Oct 19  2022 README
drwxr-xr-x 9 1001 1001     91 Jul 11 15:29 src

# 5.服务生成命令
./configure --prefix=/opt/nginx-1.22.1 --with-http_ssl_module --with-http_stub_status_module
(./:执行,生成配置文件)(指定路径)        (指定添加的配置,功能)

## 没安装依赖包的报错解决:
# 报错一
./configure: error: C compiler cc is not found
报错原因:缺少C语言环境 解决方法:yum install -y gcc gcc-c++ glibc

# 报错二
./configure: error: the HTTP rewrite module requires the PCRE library. # 直接百度看差什么包
You can either disable the module by using --without-http_rewrite_module
option, or install the PCRE library into the system, or build the PCRE library
statically from the source with nginx by using --with-pcre=<path> option.
报错原因:缺少pcre库文件 解决方法:yum install -y pcre-devel

# 报错三
./configure: error: SSL modules require the OpenSSL library.
You can either do not enable the modules, or install the OpenSSL library
into the system, or build the OpenSSL library statically from the source
with nginx by using --with-openssl=<path> option.
报错原因:缺少openssl库文件 解决方法:yum install -y openssl-devel

# 6.编译安装
编译命令make(让系统能识别你的代码,并且把上一步指定的功能和路径编译到源码中)
安装命令make install
[root@web02 nginx-1.22.1]# make && make install
[root@web02 nginx-1.22.1]# ll /opt
total 0
drwxr-xr-x 6 root root 54 Jul 11 15:48 nginx-1.22.1

# 7.做软链接 为了方便以后服务的更新和使用
[root@web02 nginx-1.22.1]# ln -s /opt/nginx-1.22.1/ /opt/nginx
[root@web02 nginx-1.22.1]# ll /opt
total 0
lrwxrwxrwx 1 root root 18 Jul 11 15:50 nginx -> /opt/nginx-1.22.1/

## 系统命令为什么可以直接执行?
因为在环境变量中,有个PATH,只要是PATH所有目录下的可执行程序,都可以直接执行,不需要写绝对路径
[root@web02 ~]# echo $PATH
/usr/local/sbin:/usr/local/bin:/usr/sbin:/usr/bin:/root/bin

# 8.添加nginx的环境变量,让nginx程序可以直接运行
在/etc/profile.d/下vim一个.sh结尾的文件写入
export PATH="$PATH:/opt/nginx/sbin"

[root@web02 ~]# vim /etc/profile.d/nginx.sh
[root@web02 ~]# cat /etc/profile.d/nginx.sh
export PATH="$PATH:/opt/nginx/sbin"

# 9.加载环境变量
[root@web02 ~]# source /etc/profile
[root@web02 ~]# echo $PATH
/usr/local/sbin:/usr/local/bin:/usr/sbin:/usr/bin:/root/bin:/opt/nginx/sbin
## 注意:如果以上有除了opt/nginx以外的nginx服务 说明你之前装过除了源码以外的包
## 并且下面启动nginx会启动你之前安装的 解决方法是关闭现在的nxinx服务 重新打开你指定的nginx
## 1.关闭当前nginx服务的命令是:nginx -s stop  2.用绝对路径打开nginx命令:/opt/nginx/sbin/nginx

# 10.启动nginx
[root@web02 ~]# nginx   # 无报错就是启动成功
[root@web02 ~]# nginx   # 再输入会显示80端口被占用 说明上面已经启动成功了
nginx: [emerg] bind() to 0.0.0.0:80 failed (98: Address already in use)
nginx: [emerg] bind() to 0.0.0.0:80 failed (98: Address already in use)
nginx: [emerg] bind() to 0.0.0.0:80 failed (98: Address already in use)
nginx: [emerg] bind() to 0.0.0.0:80 failed (98: Address already in use)
nginx: [emerg] bind() to 0.0.0.0:80 failed (98: Address already in use)
nginx: [emerg] still could not bind()

# 11.检查nginx是否启动成功
[root@web02 ~]# netstat -lntup
Active Internet connections (only servers)
Proto Recv-Q Send-Q Local Address           Foreign Address         State       PID/Program name
tcp        0      0 0.0.0.0:80              0.0.0.0:*               LISTEN      9410/nginx: master

# 12.检查nginx进程的方法
[root@web02 ~]# ps -ef | grep nginx
root       9410      1  0 16:07 ?        00:00:00 nginx: master process nginx
nobody     9411   9410  0 16:07 ?        00:00:00 nginx: worker process
root       9416   4315  0 16:09 pts/0    00:00:00 grep --color=auto nginx
### 过滤grep进程的方法
[root@web02 ~]# ps -ef | grep nginx | grep -v 'grep'
root       9410      1  0 16:07 ?        00:00:00 nginx: master process nginx
nobody     9411   9410  0 16:07 ?        00:00:00 nginx: worker process

[root@web02 ~]# ps -ef | grep [n]ginx
root       9410      1  0 16:07 ?        00:00:00 nginx: master process nginx
nobody     9411   9410  0 16:07 ?        00:00:00 nginx: worker process

# 13.打开浏览器访问:http://你的虚拟机ip
nginx网页
# 站点目录
[root@web02 ~]# cd /opt/nginx-1.22.1/html/

# 修改代码文件的方法
[root@web02 html]# vim index.html
index.html内容为前端语法 显示的就是图片的内容 全删除以后 你可以自己写入内容 刷新浏览器 如果刷新没用 可能是注意里写的启动的不是源码安装的nginx服务 所以代码文件位置不在 /opt/nginx-1.22.1/html/
使用nginx来做yum仓库
## 配置nginx配置文件
[root@web02 html]# cd /opt/nginx-1.22.1/conf/
[root@web02 conf]# vim nginx.conf
#user  nobody;
worker_processes  1;

#error_log  logs/error.log;
#error_log  logs/error.log  notice;
#error_log  logs/error.log  info;

#pid        logs/nginx.pid;

events {
    worker_connections  1024;
}

http {
    include       mime.types;
    default_type  application/octet-stream;

    #log_format  main  '$remote_addr - $remote_user [$time_local] "$request" '
    #                  '$status $body_bytes_sent "$http_referer" '
    #                  '"$http_user_agent" "$http_x_forwarded_for"';

    #access_log  logs/access.log  main;

    sendfile        on;
    #tcp_nopush     on;

    #keepalive_timeout  0;
    keepalive_timeout  65;

    #gzip  on;

    server {
        listen       80;
        server_name  localhost;

        #charset koi8-r;

        #access_log  logs/host.access.log  main;

        location / {
            root   /data/yum_data/;
        autoindex on;
        access_log off;
        }

        #error_page  404              /404.html;

        # redirect server error pages to the static page /50x.html
        #
        error_page   500 502 503 504  /50x.html;
        location = /50x.html {
            root   html;
        }

        # proxy the PHP scripts to Apache listening on 127.0.0.1:80
        #
        #location ~ \.php$ {
        #    proxy_pass   http://127.0.0.1;
        #}

        # pass the PHP scripts to FastCGI server listening on 127.0.0.1:9000
        #
        #location ~ \.php$ {
        #    root           html;
        #    fastcgi_pass   127.0.0.1:9000;
        #    fastcgi_index  index.php;
        #    fastcgi_param  SCRIPT_FILENAME  /scripts$fastcgi_script_name;
        #    include        fastcgi_params;
        #}

        # deny access to .htaccess files, if Apache's document root
        # concurs with nginx's one
        #
        #location ~ /\.ht {
        #    deny  all;
        #}
    }

    # another virtual host using mix of IP-, name-, and port-based configuration
    #
    #server {
    #    listen       8000;
    #    listen       somename:8080;
    #    server_name  somename  alias  another.alias;

    #    location / {
    #        root   html;
    #        index  index.html index.htm;
    #    }
    #}

    # HTTPS server
    #
    #server {
    #    listen       443 ssl;
    #    server_name  localhost;

    #    ssl_certificate      cert.pem;
    #    ssl_certificate_key  cert.key;

    #    ssl_session_cache    shared:SSL:1m;
    #    ssl_session_timeout  5m;

    #    ssl_ciphers  HIGH:!aNULL:!MD5;
    #    ssl_prefer_server_ciphers  on;

    #    location / {
    #        root   html;
    #        index  index.html index.htm;
    #    }
    #}

}

## 创建配置文件中相同的目录
[root@web02 conf]# mkdir -p /data/yum_data

## 重启nginx服务
[root@web02 conf]# nginx -s reload
刷新浏览器

## 创建和阿里云相同的目录
[root@web02 conf]# mkdir -p /data/yum_data/centos/7/os/x86_64/Packages/

## 挂载镜像 获取rpm包
[root@web02 etc]# mount /dev/cdrom /mnt
mount: /dev/sr0 is write-protected, mounting read-only

## 把包放入Packages
[root@web02 conf]# cd /data/yum_data/centos/7/os/x86_64/Packages/
[root@web02 Packages]# cp /mnt/Packages/* ./

## 把Packages生成yum仓库
[root@web02 Packages]# yum install -y createrepo
[root@web02 Packages]# createrepo /data/yum_data/centos/7/os/x86_64/Packages/
Spawning worker 0 with 4070 pkgs
Workers Finished
Saving Primary metadata
Saving file lists metadata
Saving other metadata
Generating sqlite DBs
Sqlite DBs complete

## 打开浏览器访问:http://你的虚拟机ip


Comments | NOTHING