


场景一:在企业中,我们需要把报警设置为升级机制,当有些报警,运维人员没有及时处理的时候,或者没有时间,或者外出,或者陪产在医院,或者...总之身边没有电脑没有网络,在山沟子里的时候,必须有人站出来,解决这个问题。
场景二:当zabbix报警服务器出现问题的时候,例如MySQL挂了,运维人员在厕...没有及时处理,那一分钟后这个警告肯定要升级,从警告变成严重故障之类的。所以不管在哪种场景下,我们要有不同的报警人员,比如,一级报警,交给运维,没有及时处理就二
级报警,交给运维总监或者运维经理,如果此时报警还没有人处理,那么报警就会升级到CTO或者CEO那里,那么这个时候,也是灾难降临之时,这也是一个很好的对运维人员必须要及时处理告警的一个制约。
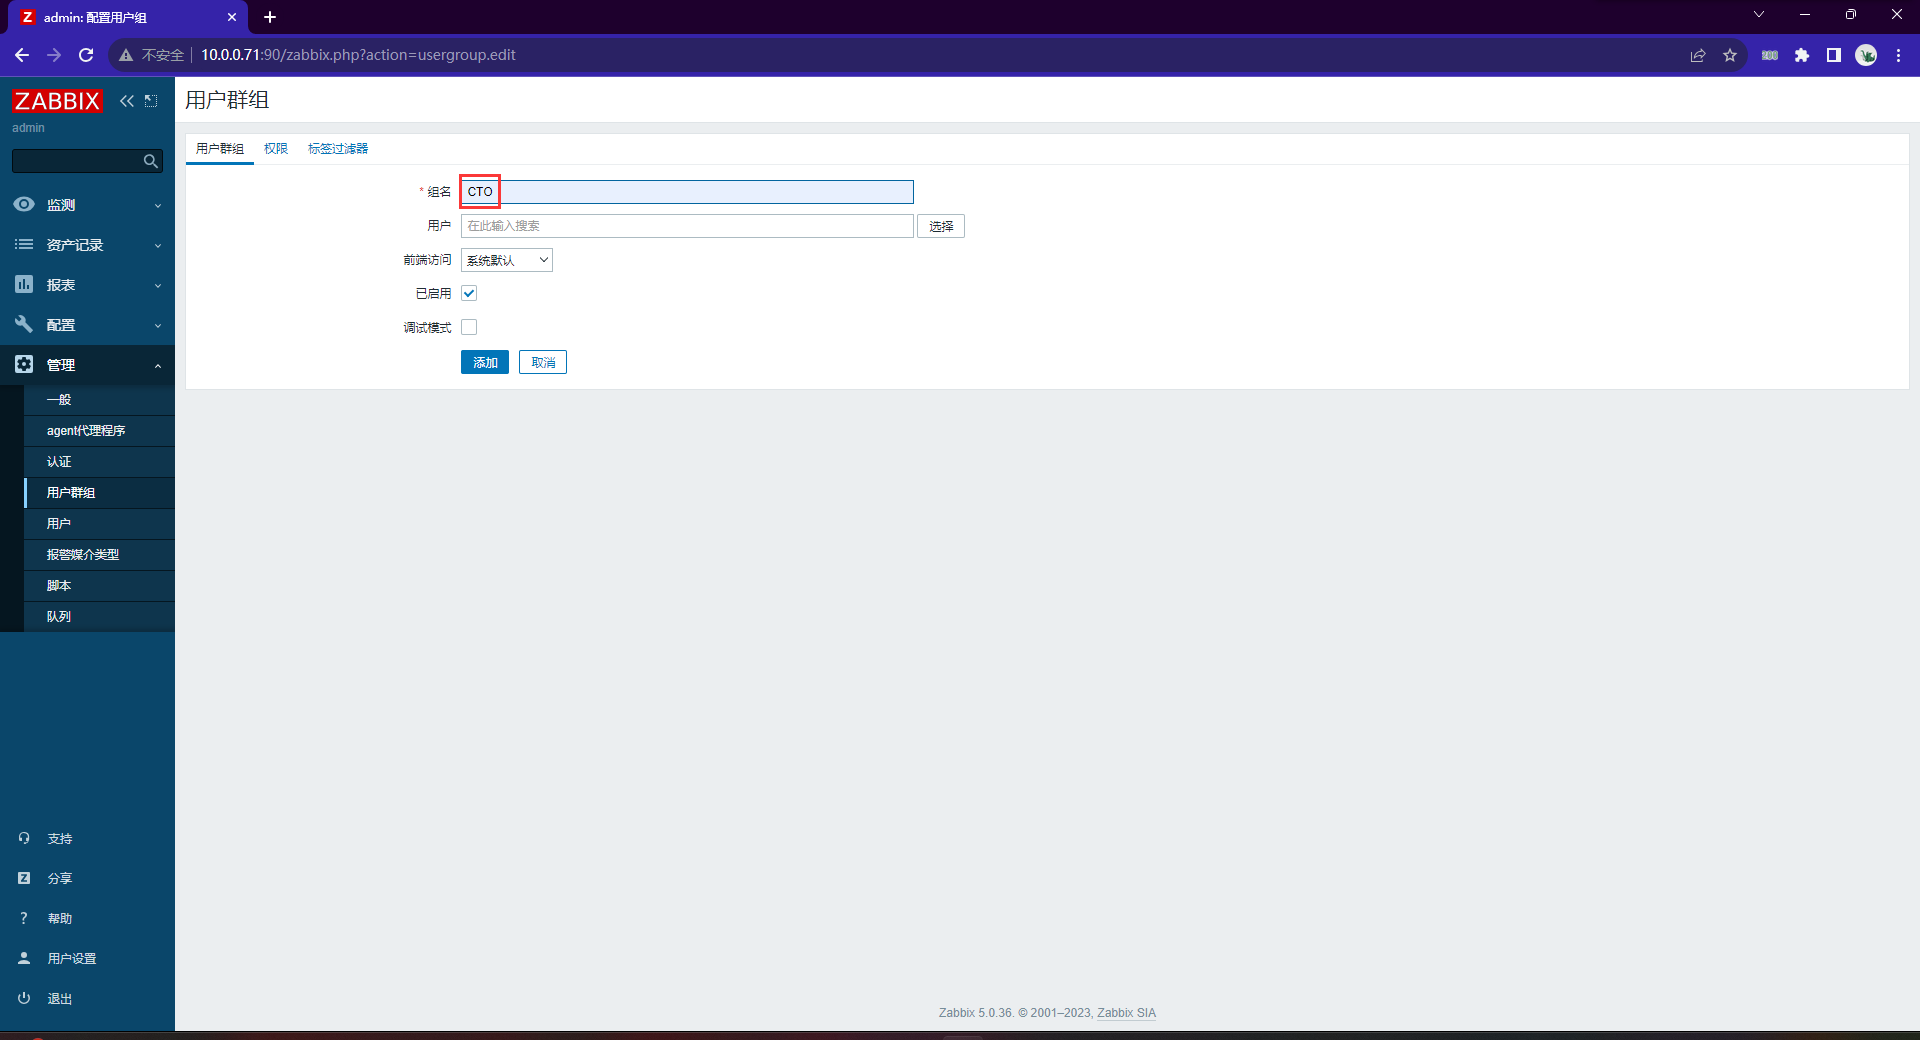
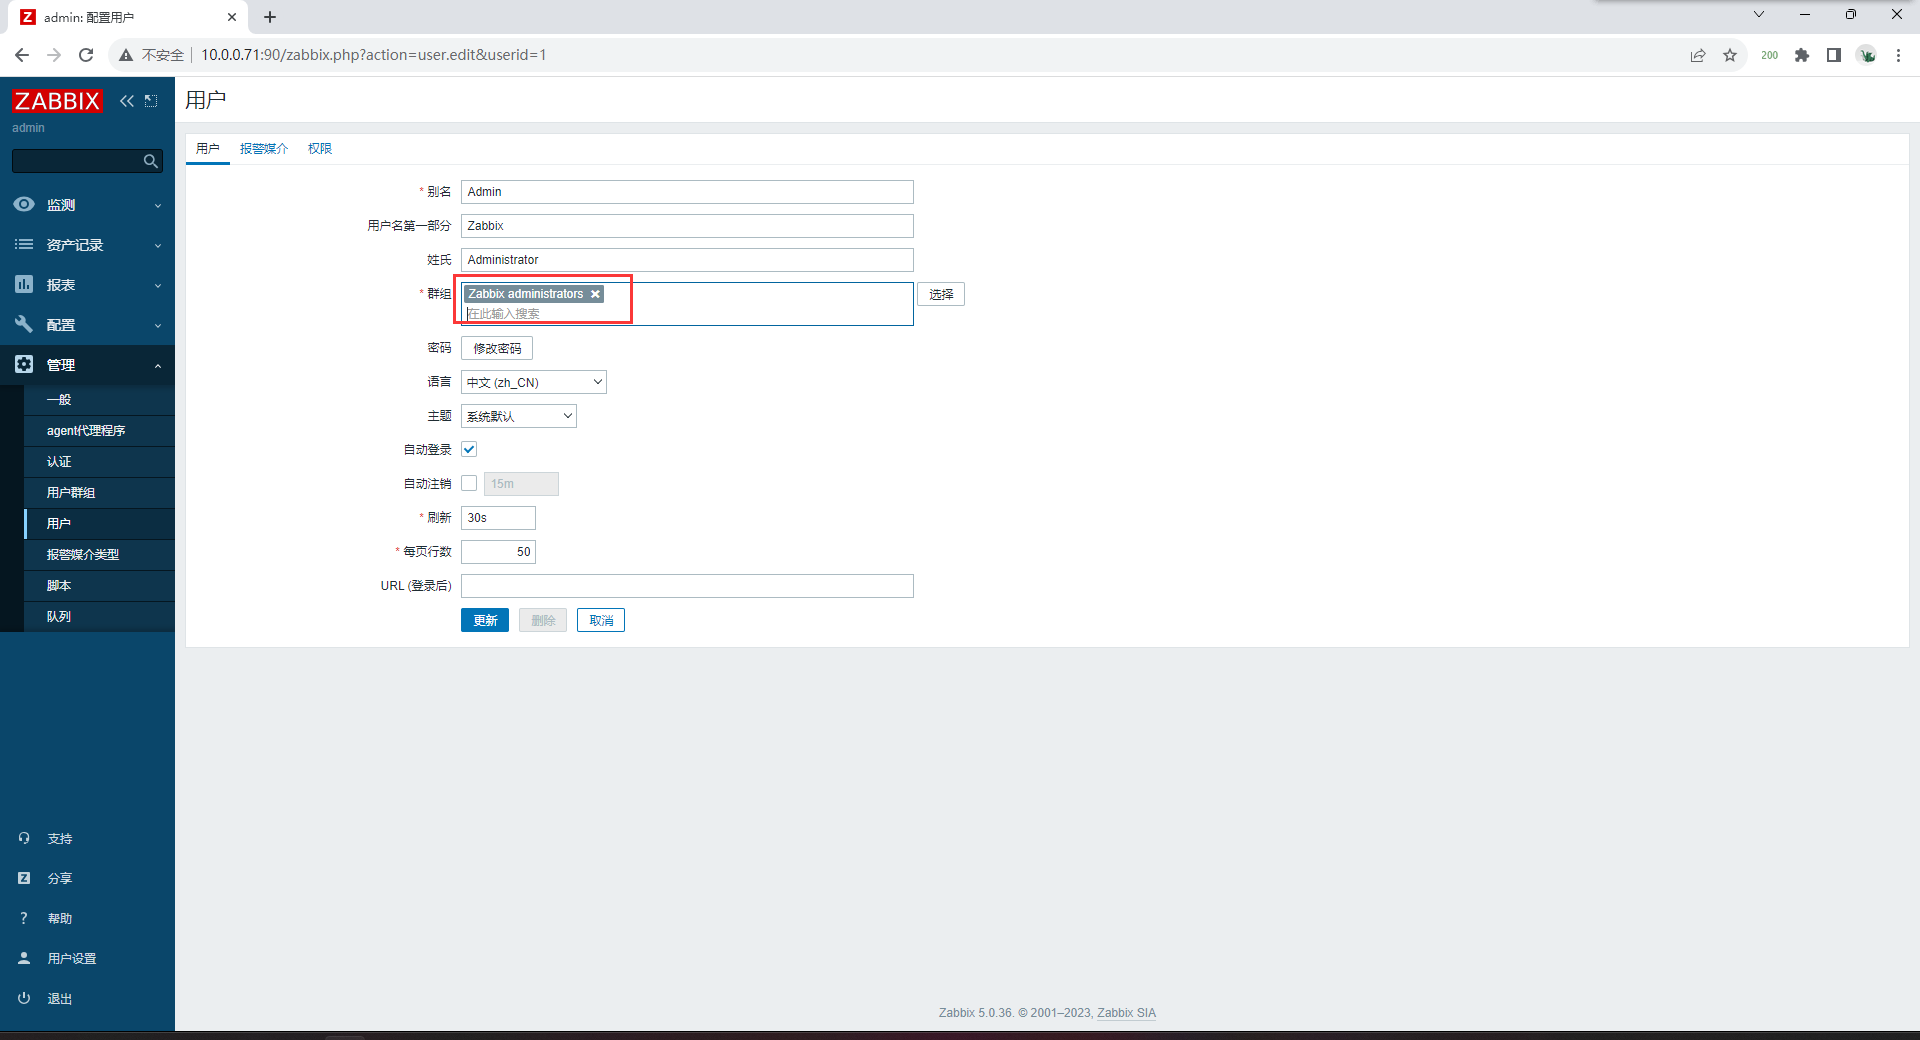
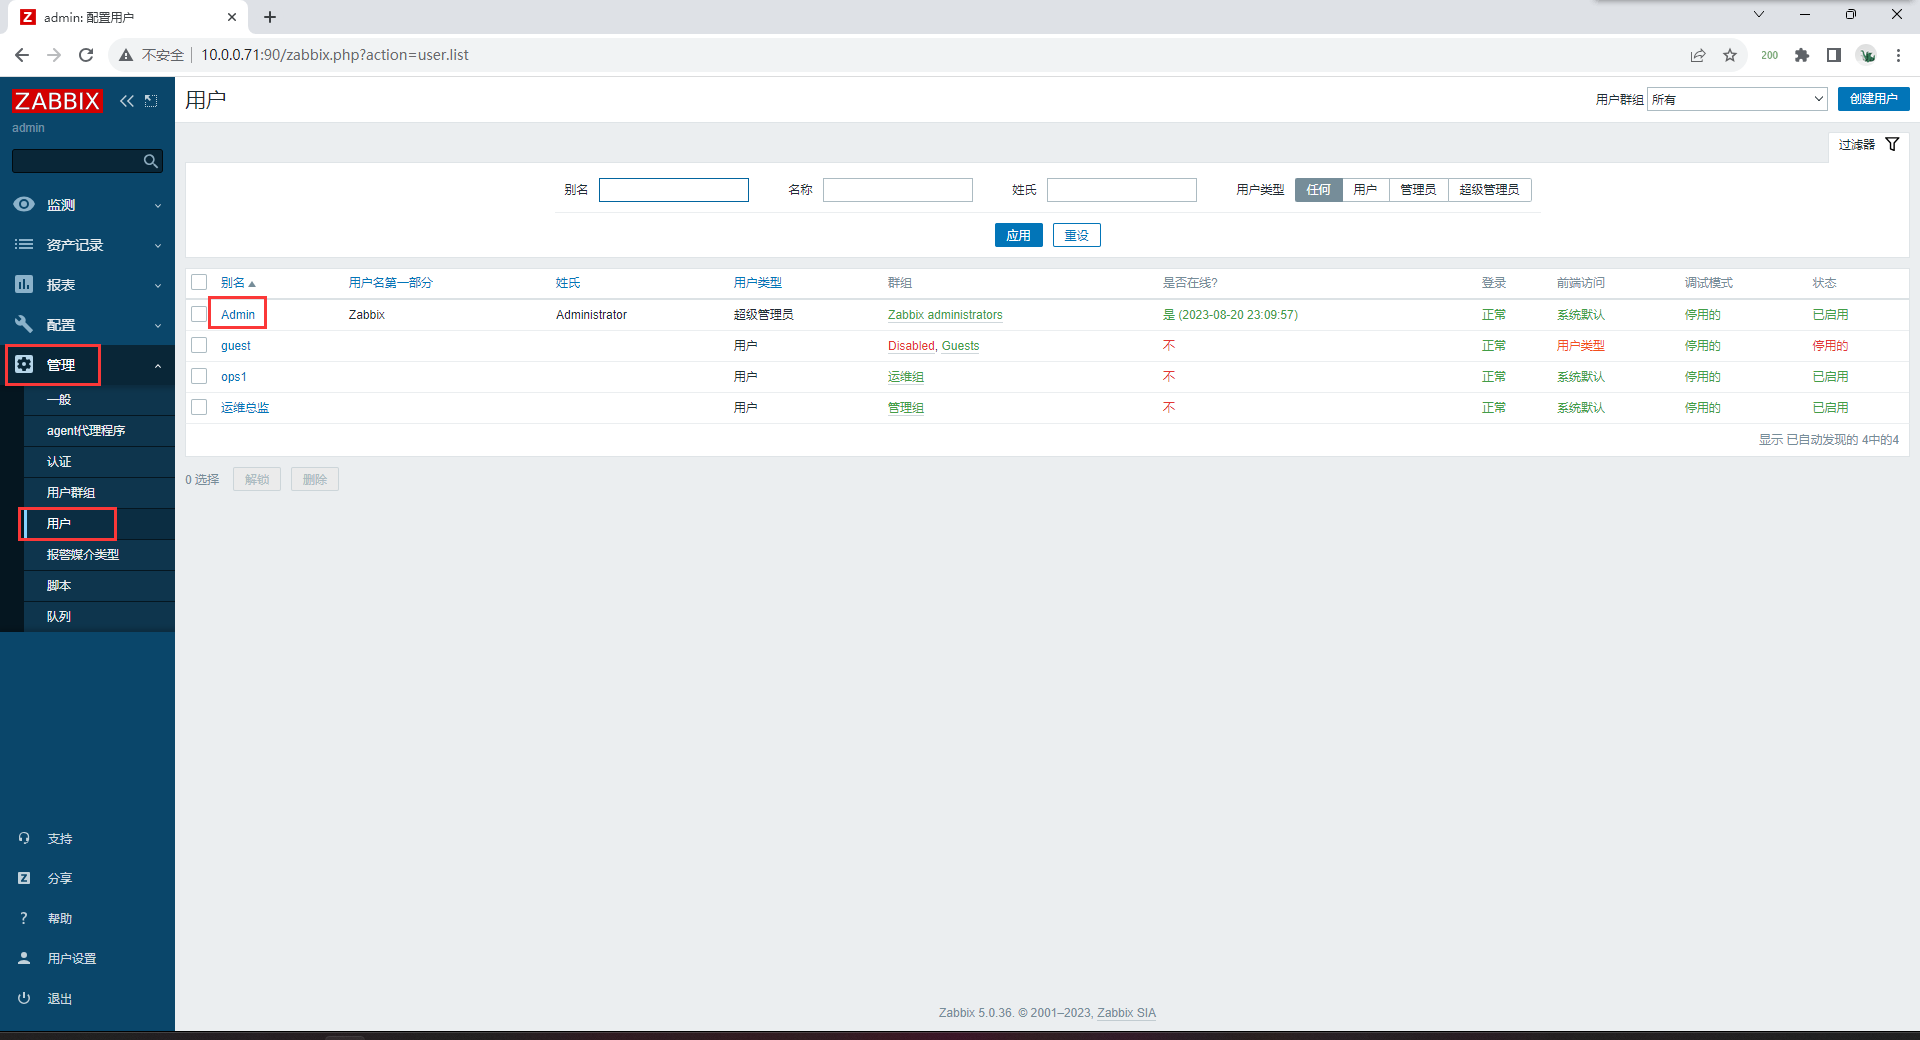
用户&用户组创建


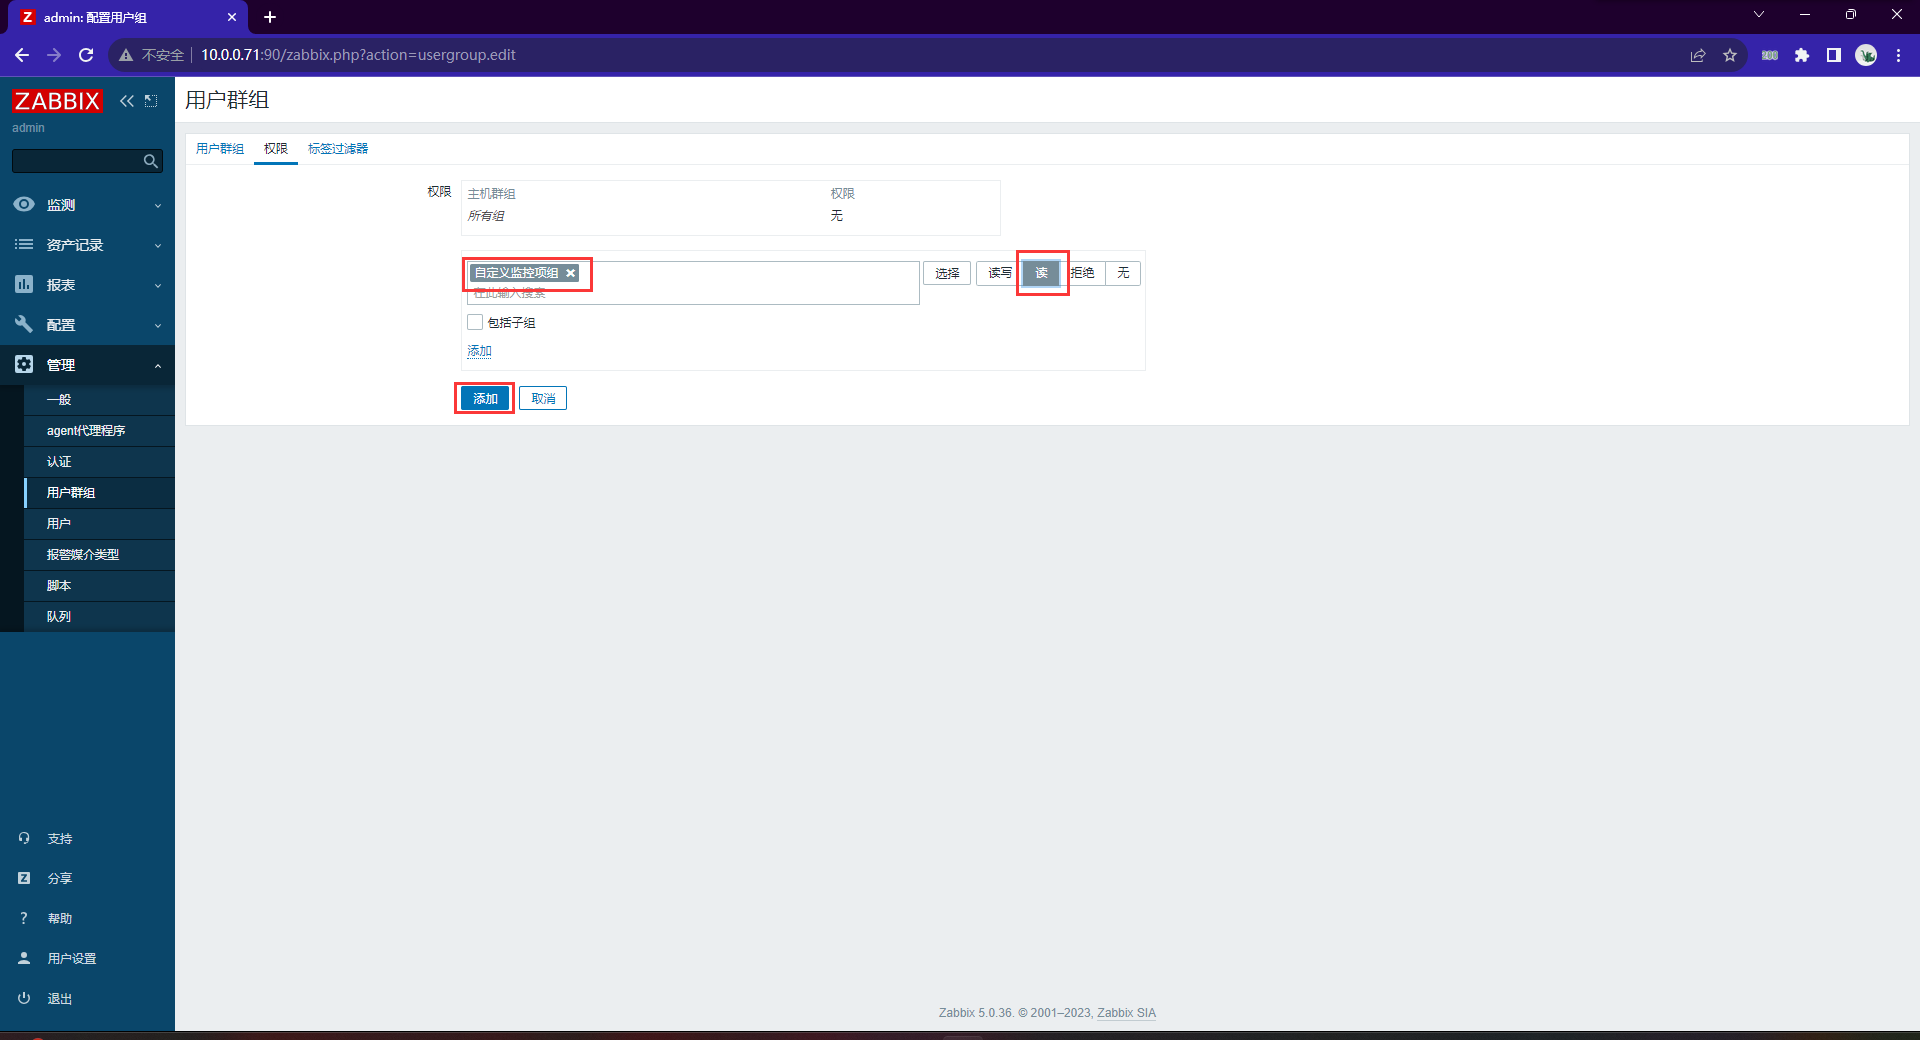

权限下面的小添加不要忘了点


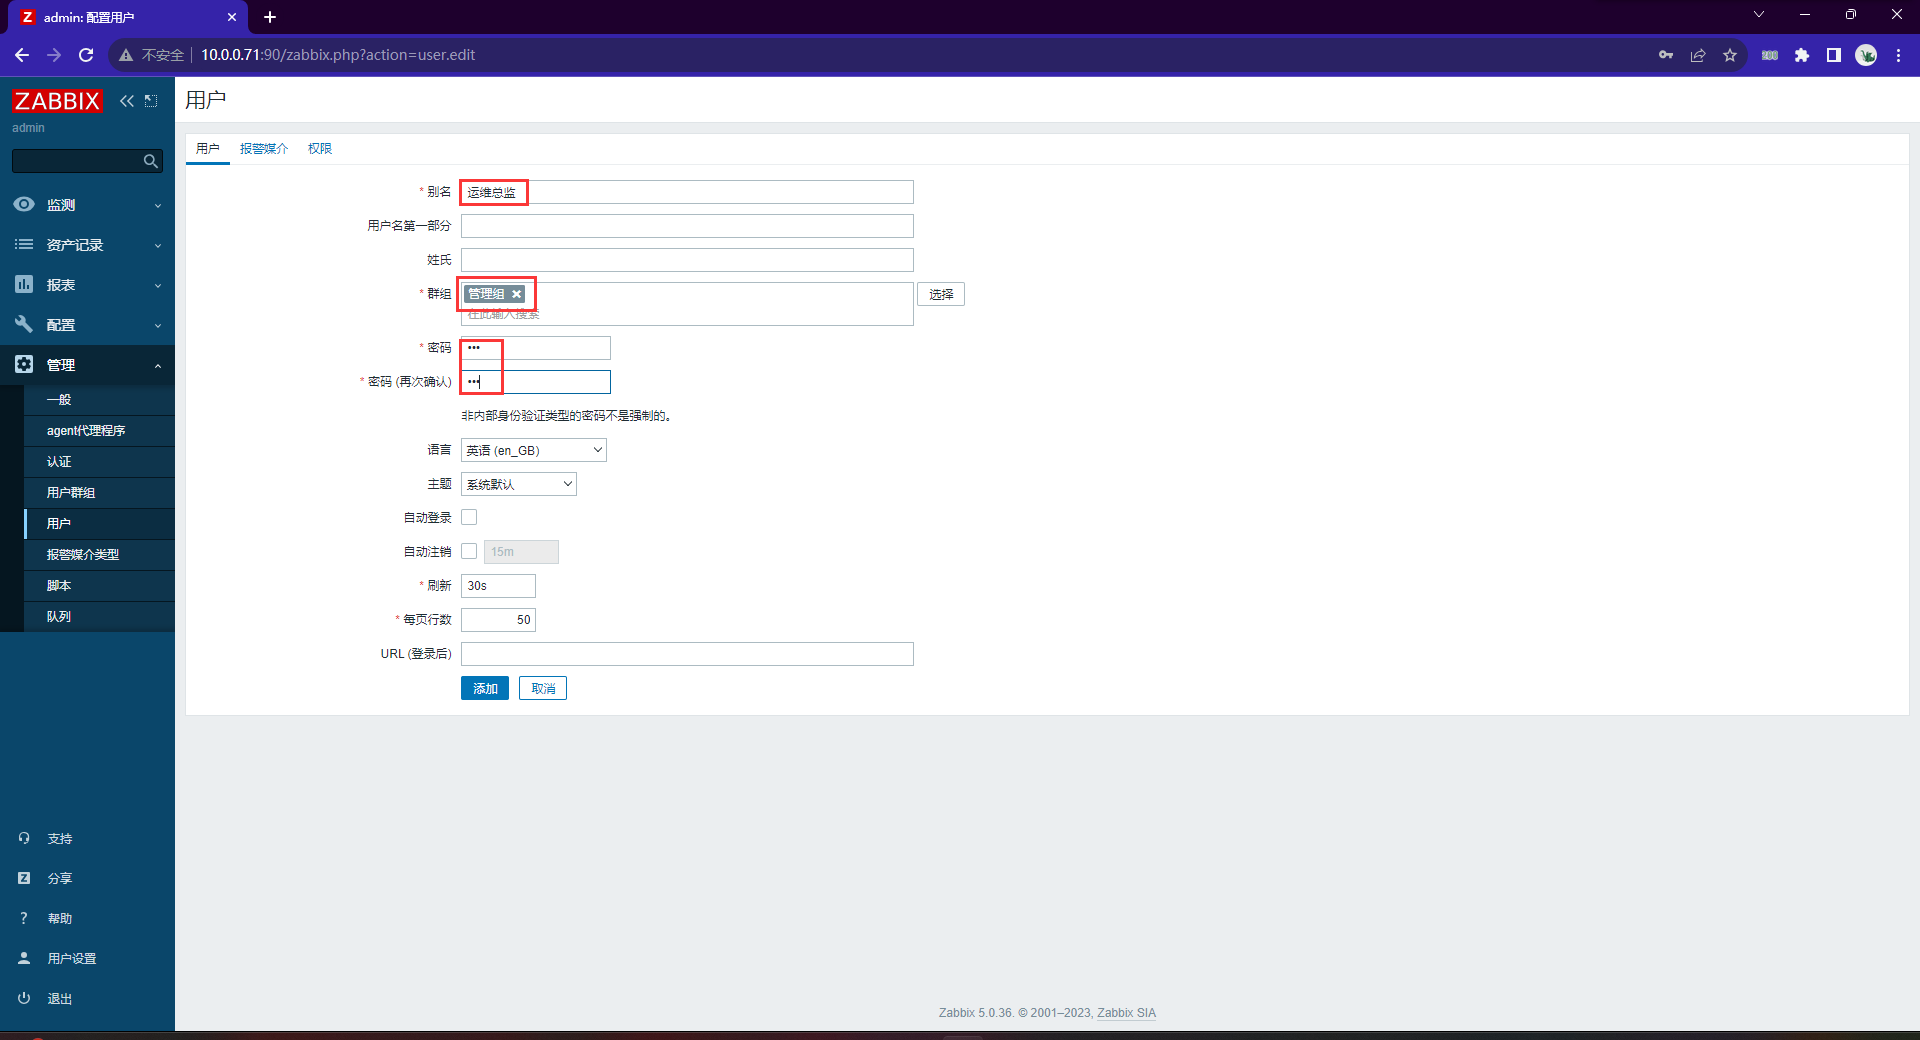


告警升级机制


验证


zabbix工作模式
不管是被动,还是主动,都是针对客户端而言(zabbix-agent)
-
被动模式(服务端操作)
-
主动模式(主动上报数据)
zabbix的自动发现(被动模式)
zabbix-server自动发现zabbix-agent
添加一zabbix的客户端
1) 需要安装一个客户端
rpm -ivh
https://mirrors.tuna.tsinghua.edu.cn/zabbix/zabbix/5.0/rhel/7/x86_64/zabbix-agent-5.0.36-1.el7.x86_64.rpm

2) 修改zabbix-agent配置文件
[root@web01 ~]# vim /etc/zabbix/zabbix_agentd.conf
Server=127.0.0.1,172.16.1.71

3) 启动zabbix-agent
# 启动并加入开机自启
[root@web01 ~]# systemctl start zabbix-agent
[root@web01 ~]# systemctl enable zabbix-agent

4) 页面添加zabbix-agent安装的主机

5) 链接模板
Zabbix提供了有效和非常灵活的网络自动发现功能。
当网络发现正确设置后你可以:
1.加快Zabbix部署
2.简化管理
3.无需过多管理就能在快速变化的环境中使用Zabbix
Zabbix网络发现基于以下信息:
1.IP范围
2.可用的外部服务(FTP,SSH,WEB,POP3,IMAP,TCP等)
3.来自 zabbix agent 的信息(仅支持未加密模式)
4.来自 snmp agent 的信息
不支持:
1.发现网络拓扑
启用自动发现
[root@db02 ~]# rpm -ivh https://mirrors.tuna.tsinghua.edu.cn/zabbix/zabbix/5.0/rhel/7/x86_64/zabbix-agent-5.0.36-1.el7.x86_64.rpm
[root@db03 ~]# rpm -ivh https://mirrors.tuna.tsinghua.edu.cn/zabbix/zabbix/5.0/rhel/7/x86_64/zabbix-agent-5.0.36-1.el7.x86_64.rpm

[root@db02 ~]# vim /etc/zabbix/zabbix_agentd.conf
[root@db03 ~]# vim /etc/zabbix/zabbix_agentd.conf
Server=172.16.1.71

[root@db02 ~]# systemctl start zabbix-agent
[root@db03 ~]# systemctl start zabbix-agent

[root@db02 ~]# systemctl enable zabbix-agent
[root@db03 ~]# systemctl enable zabbix-agent


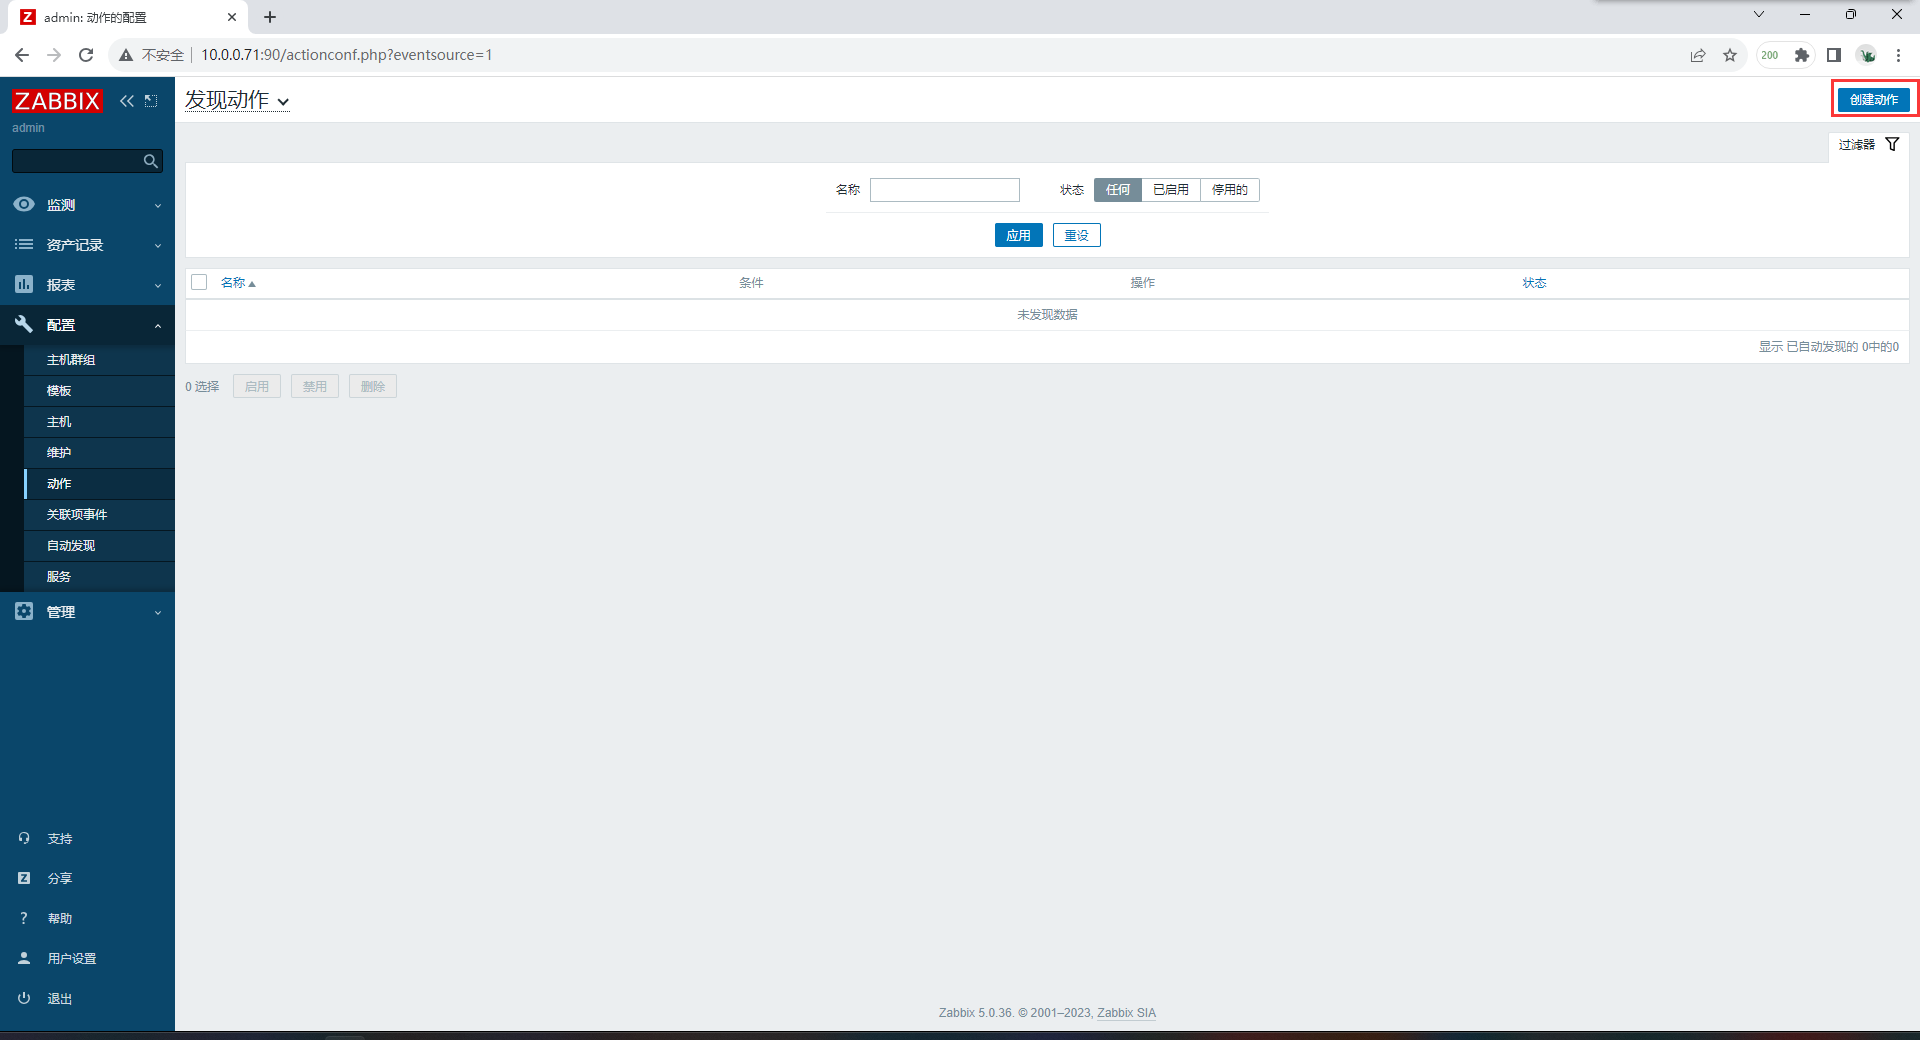
配置动作


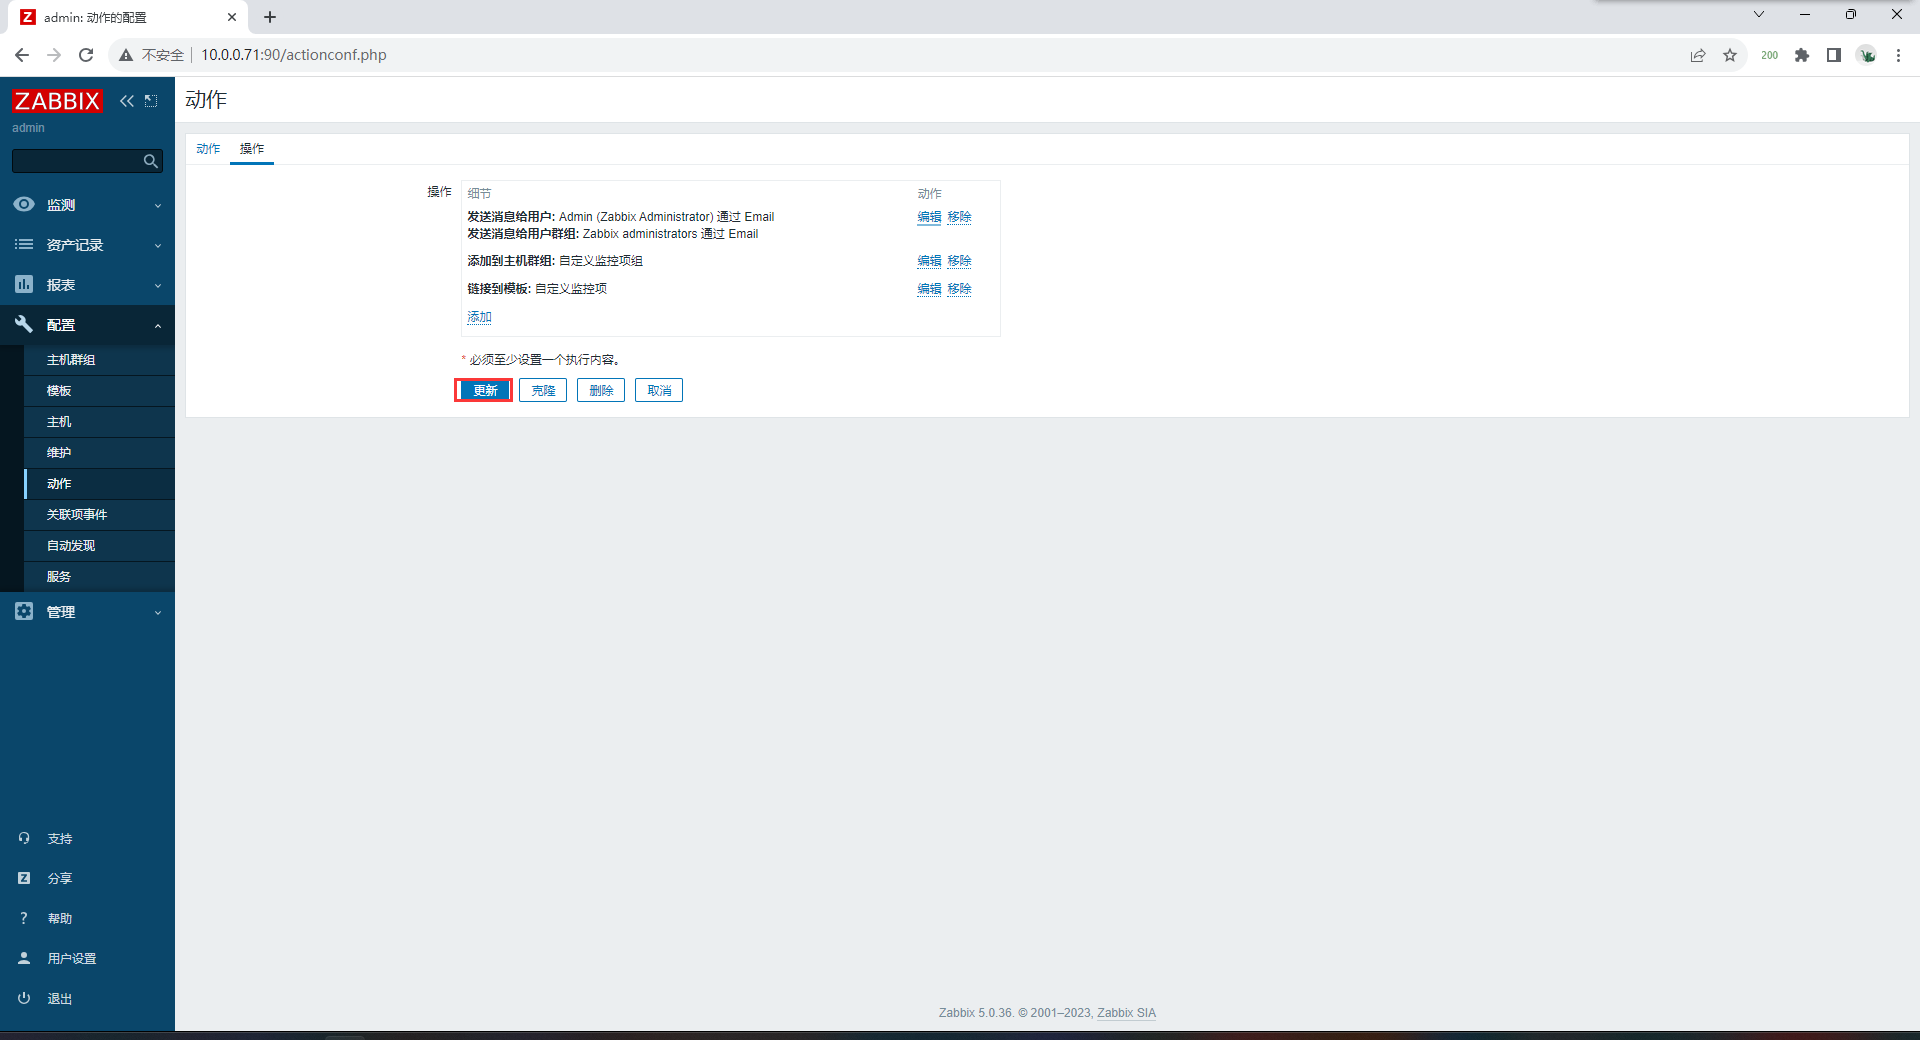

验证


如果出现discover busy告警则需要优化
[root@zabbix ~]# vim /etc/zabbix/zabbix_server.conf
StartDiscoverers=20
自动发现总结:
1.网络发现速度太慢
2.轮询扫描网段
3.如果网段中存在不通的主机,会出现卡顿并且造成新增的服务器无法加入节点
4.会导致server性能变缓慢,影响server性能
zabbix的自动注册(主动模式)
zabbix-agent自动注册到zabbix-server
[root@db02 ~]# vim /etc/zabbix/zabbix_agentd.conf
[root@db03 ~]# vim /etc/zabbix/zabbix_agentd.conf
Server=172.16.1.71
ServerActive=172.16.1.71
Hostname=web01

[root@db02 ~]# systemctl start zabbix-agent
[root@db03 ~]# systemctl start zabbix-agent

[root@db02 ~]# systemctl enable zabbix-agent
[root@db03 ~]# systemctl enable zabbix-agent

# 展示配置文件
[root@zabbix ~]# for i in 7 9 52 53;do ssh 172.16.1.$i "grep -E '^Server|^Hostname' /etc/zabbix/zabbix_agentd.conf";done
root@172.16.1.7's password:
Server=172.16.1.71
ServerActive=172.16.1.71
Hostname=web01
root@172.16.1.9's password:
Server=172.16.1.71
ServerActive=172.16.1.71
Hostname=web03
root@172.16.1.52's password:
Server=172.16.1.71
ServerActive=172.16.1.71
Hostname=db02
root@172.16.1.53's password:
Server=172.16.1.71
ServerActive=172.16.1.71
Hostname=db03


验证

企业微信告警


webhook地址(钩子)https://qyapi.weixin.qq.com/cgi-bin/webhook/send?key=3cf8eba3-696a-4648-a428-b321d0fb20dd
用postman调取接口测试


安装Python脚本模块
# 1.安装python3.6环境
[root@zabbix-server alertscripts]# yum install -y python36-devel
# 2.安装requests模块
[root@zabbix-server alertscripts]# pip3.6 install requests
# 进入告警脚本目录
[root@zabbix-server zabbix]# cd /usr/lib/zabbix/alertscripts/
# 编辑脚本
[root@zabbix alertscripts]# vim wechat.py
#!/usr/bin/python3.6
#-*- coding: utf-8 -*-
import requests
import json
import sys
import os

headers = {'Content-Type': 'application/json;charset=utf-8'}
api_url = "https://qyapi.weixin.qq.com/cgi-bin/webhook/send?key=3cf8eba3-696a-4648-a428-b321d0fb20dd"   #这个是企业微信机器人生成的webhook地址,修改为你的即可。

def msg(text):
    json_text= {
     "msgtype": "text",
        "text": {
            "content": text
        },
    }
    print(requests.post(api_url,json.dumps(json_text),headers=headers).content)

if __name__ == '__main__':
    text = sys.argv[1]
    msg(text)
# shell脚本
#!/bin/bash

api_url="https://qyapi.weixin.qq.com/cgi-bin/webhook/send?key=3cf8eba3-696a-4648-a428-b321d0fb20dd"
text=$1
curl "$api_url" \
   -H 'Content-Type: application/json' \
   -d '
   {
        "msgtype": "text",
        "text": {
                "content": "'"$text"'"
        }
   }'
# 添加执行权限
[root@zabbix-server alertscripts]# chmod +x wechat.py


验证

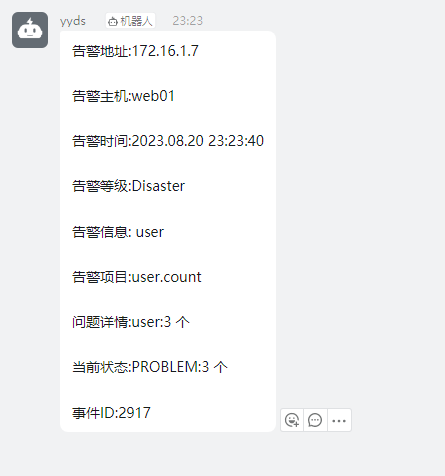
钉钉告警


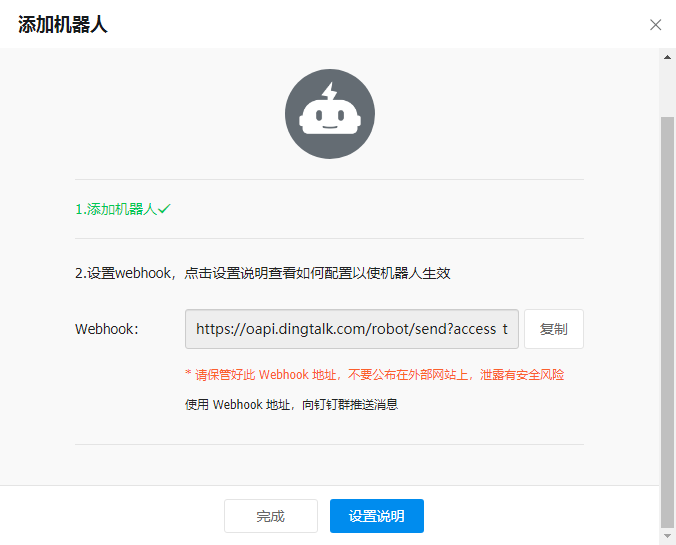


使用postman调取接口测试机器人


# 1.安装python3.6环境
[root@zabbix-server alertscripts]# yum install -y python36-devel
# 2.安装requests模块
[root@zabbix-server alertscripts]# pip3.6 install requests
# 进入告警脚本目录
[root@zabbix-server zabbix]# cd /usr/lib/zabbix/alertscripts/
# 编辑脚本
[root@zabbix alertscripts]# vim 1.py
#!/usr/bin/python3.6
#-*- coding: utf-8 -*-
import requests
import json
import sys
import os

headers = {'Content-Type': 'application/json;charset=utf-8'}
api_url = "https://oapi.dingtalk.com/robot/send?access_token=c3a8d2512dcdb8c6f207e980d4d4f455b33bd5c9da44d441c7d0a5ed5c8d4ee4"   #这个是钉钉机器人生成的webhook地址,修改为你的即可。

def msg(text):
    json_text= {
     "msgtype": "text",
        "text": {
            "content": text
        },
    }
    print(requests.post(api_url,json.dumps(json_text),headers=headers).content)

if __name__ == '__main__':
    text = sys.argv[1]
    msg(text)
# shell脚本
[root@zabbix-server alertscripts]# vim 1.sh
#!/bin/bash

api_url="https://oapi.dingtalk.com/robot/send?access_token=c3a8d2512dcdb8c6f207e980d4d4f455b33bd5c9da44d441c7d0a5ed5c8d4ee4"
text=$1
curl "$api_url" \
   -H 'Content-Type: application/json' \
   -d '
   {
        "msgtype": "text",
        "text": {
                "content": "'"$text"'"
        }
   }'
# 添加执行权限
[root@zabbix-server alertscripts]# chmod +x wechat.py
刚才微信用的python脚本这里用shell脚本


验证


Comments | NOTHING